
Project · GRIZO Thermo+
GRIZO Thermo+ in an attic bathroom
We show step by step how the crew created a sealed reflective insulation layer around a roof window and ventilation penetrations.
Explore the story →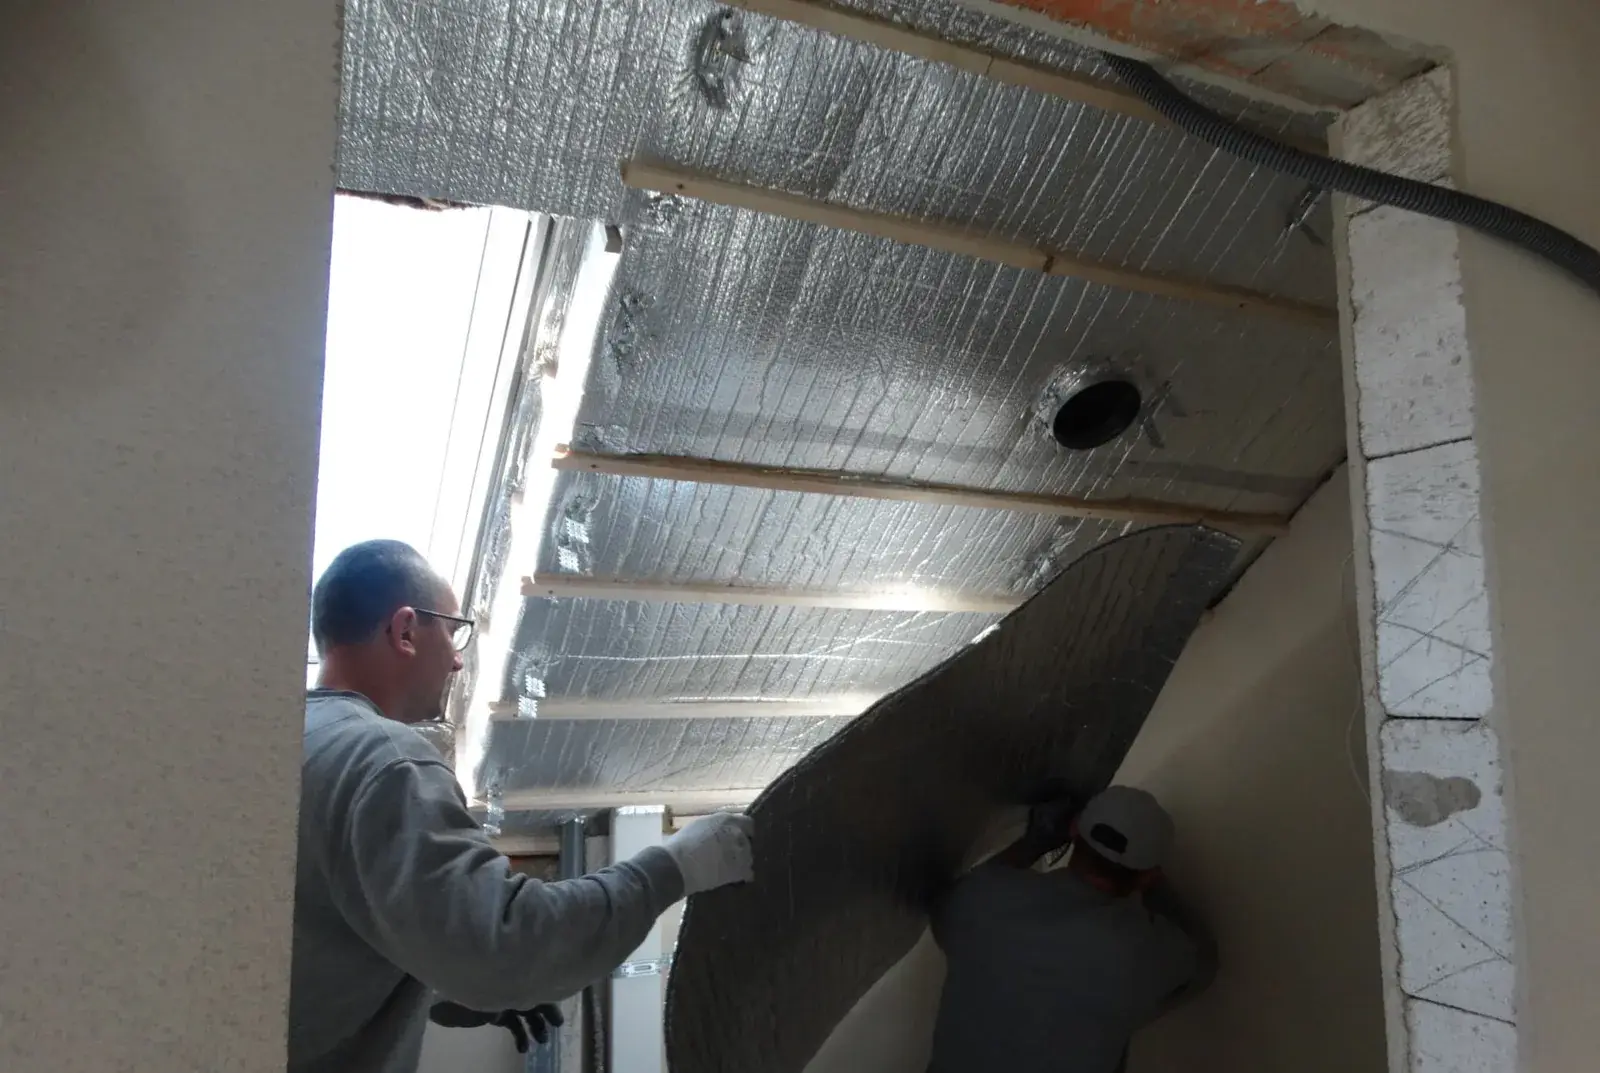
How it was done
Here is an attic insulation project in a bathroom being finished. The owner chose GRIZO Thermo+ mat as a supplementary layer to mineral wool — for better vapour control and reflection of thermal radiation under the roof window.
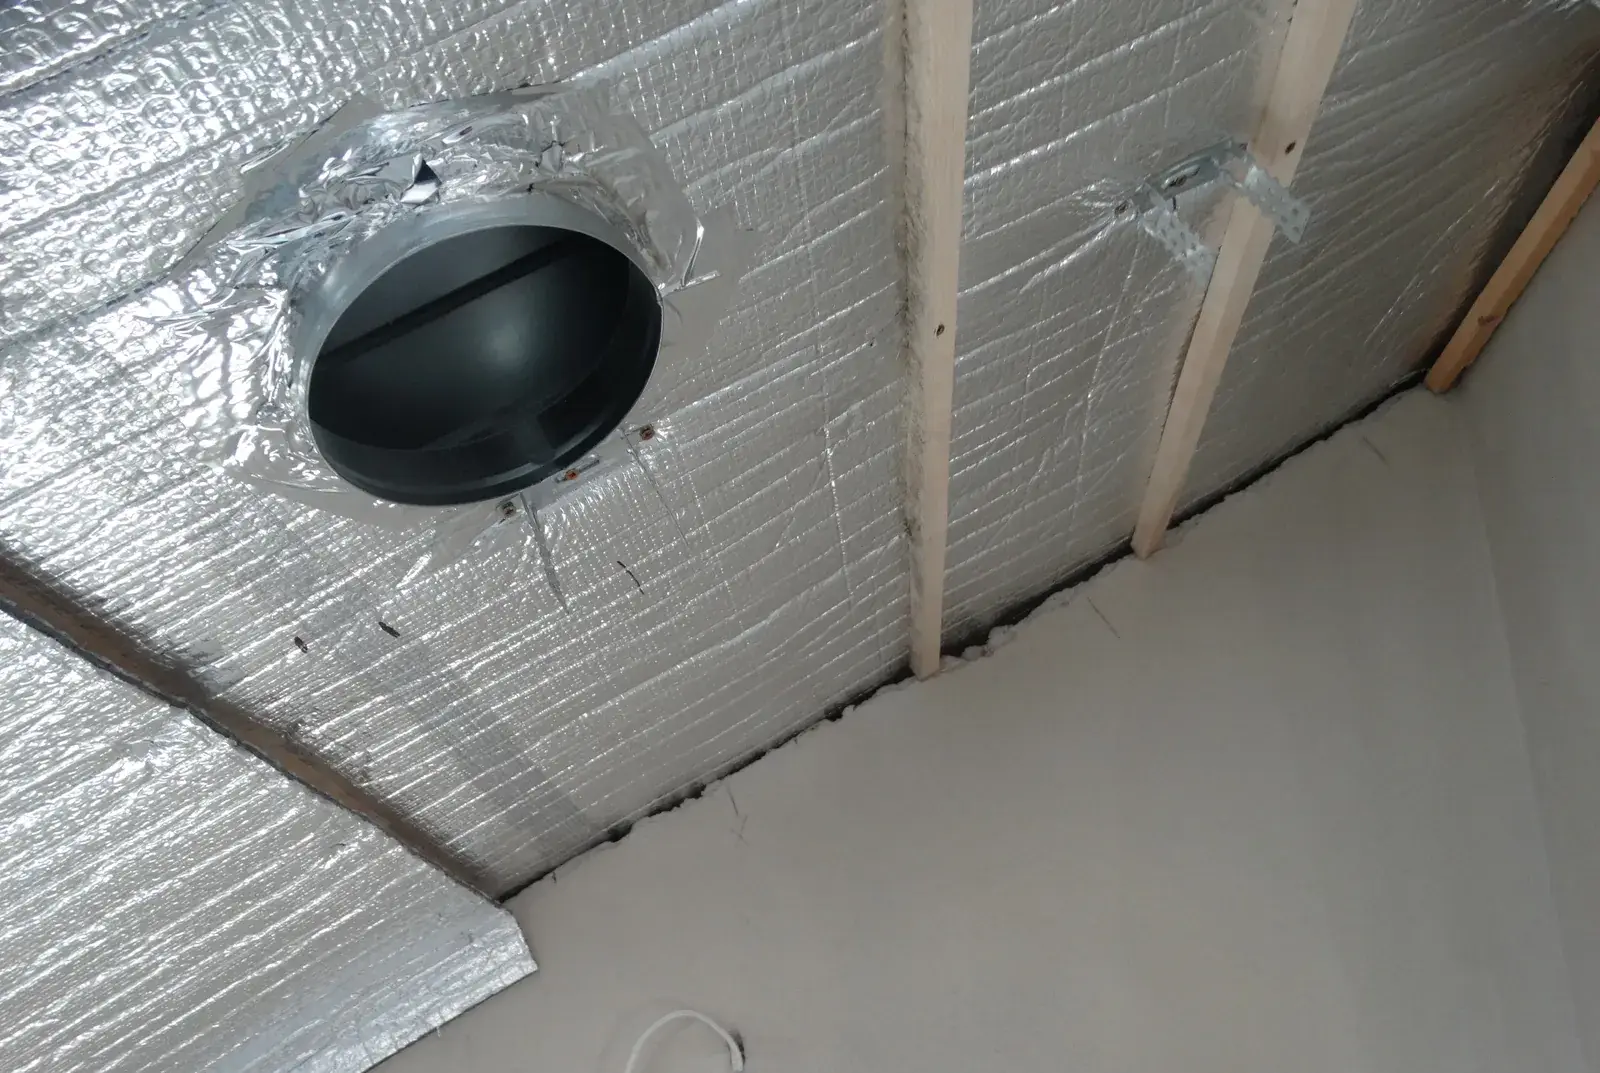
We started installation by preparing a frame of 25 mm spacer battens. This is a key element — the air gap under the aluminium-faced film determines how effective the reflective layer is. Without it, the mat works only as an ordinary vapour barrier.
Next, we lay the mat strips along the rafters and fix them with staples every 20–25 cm. Each strip overlaps the previous one by 5–10 cm, and we seal the joints with aluminium tape — only then is a continuous vapour barrier formed.
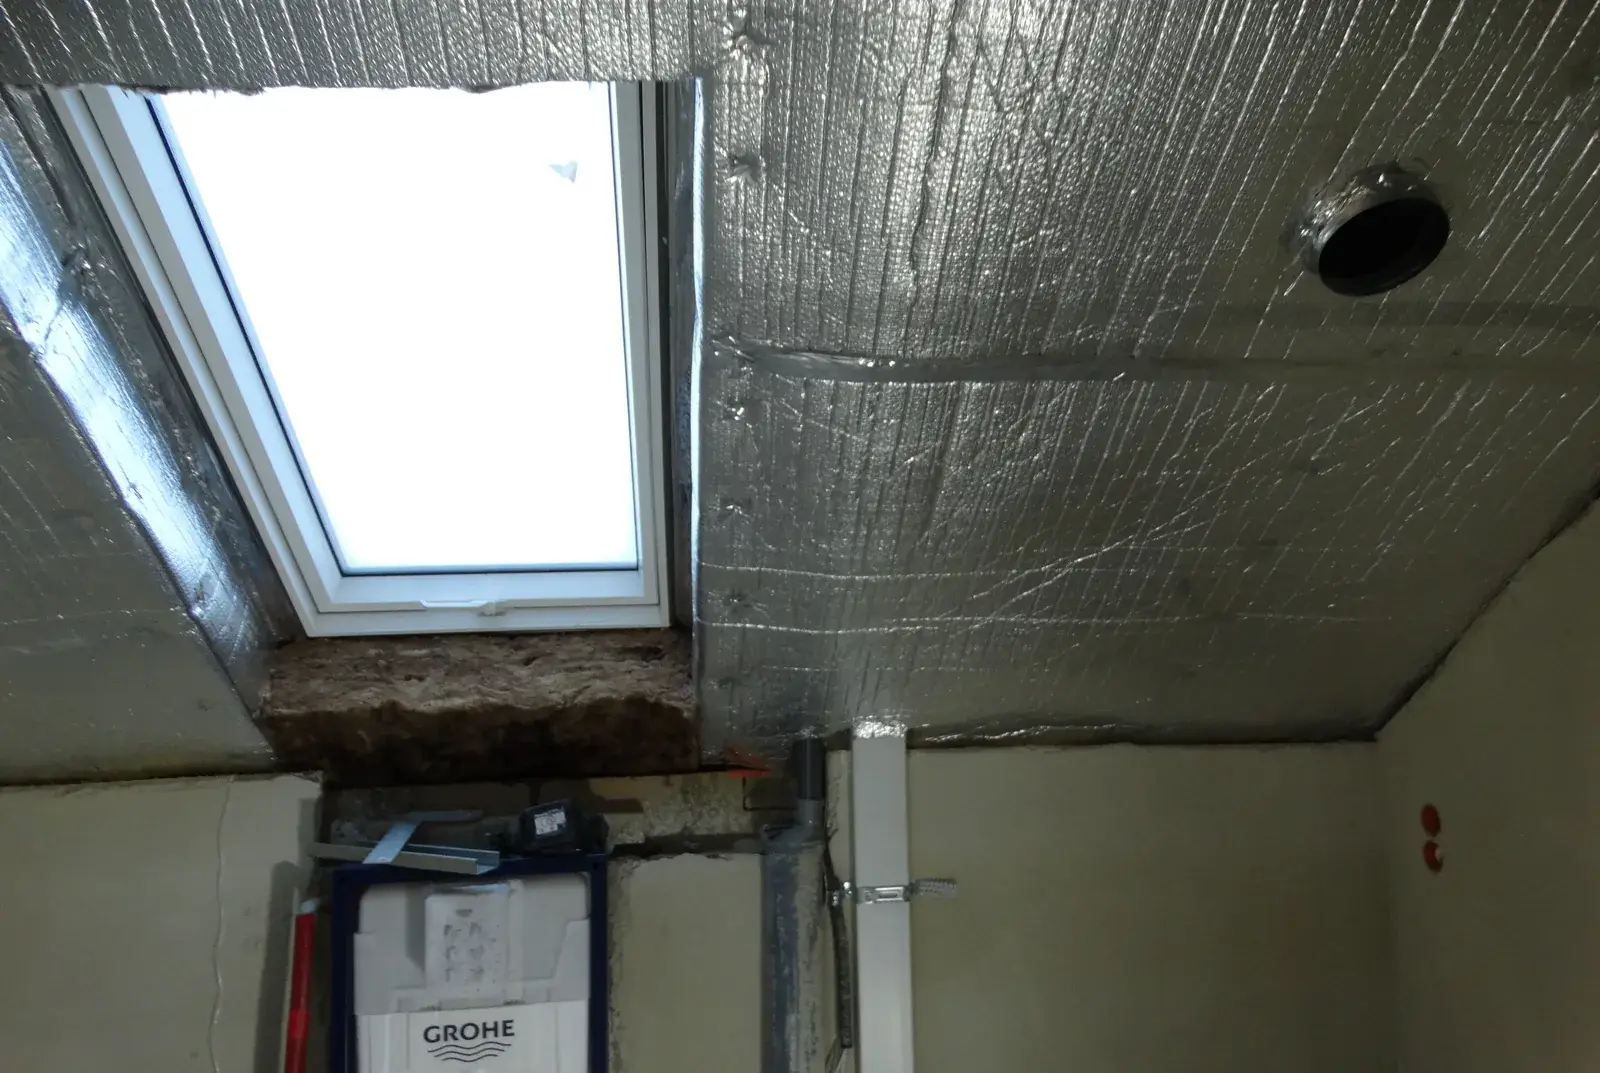
We paid the most attention to detailing the roof window and ventilation penetrations. Around the window frame, the mat is carefully cut to fit and bonded to the window's system membrane, and around the black ventilation duct we cut an opening and seal it with tape — with no thermal bridges.
Final result: a sealed, mirror-like surface ready for the plasterboard frame. The client gets a bathroom that is warmer in winter and noticeably cooler in summer — especially right under the roof window, where heat build-up from the sun used to be a problem.
Details
Installation details
- 25 mm spacer battens
- Staples every 20–25 cm
- 5–10 cm strip overlap
- Sealing with aluminium tape

Advice and orders
Let's talk about your project.
We'll match the material to your structure and tell you where to buy it.
Michał Kuchta